Artist's Palate: Ian Davenport's Mum's pancakes
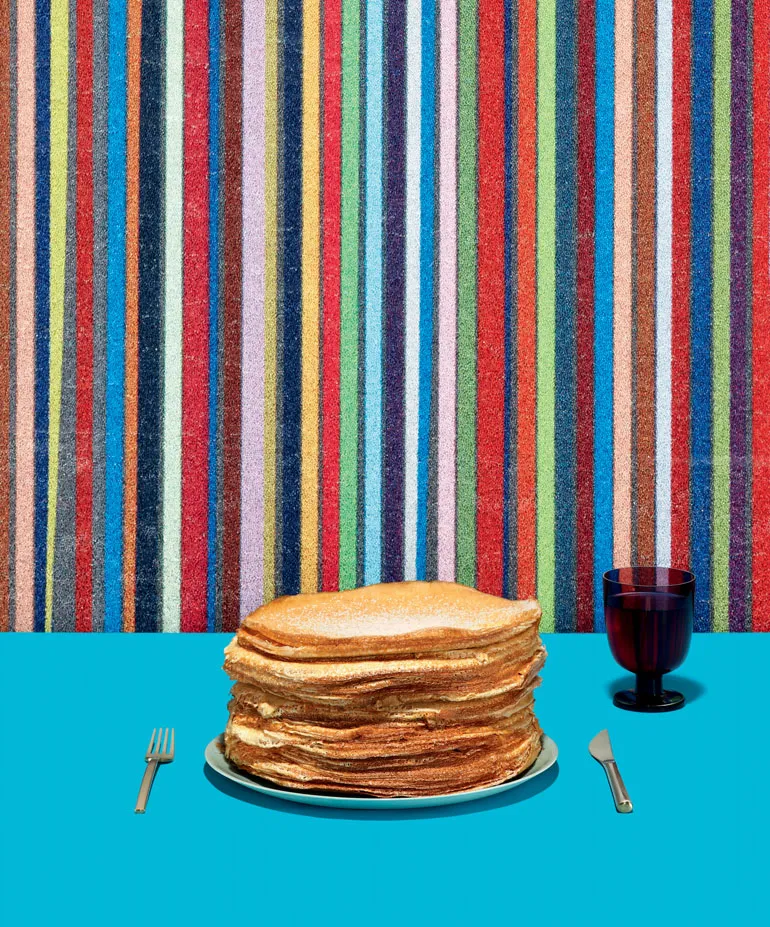
If only all the artists who contribute to this feature were as helpfully literal as Ian Davenport. Some of the time we have to, ahem, build a metaphorical link between the recipe and an artist’s practice that is as flimsy as a rope bridge in an action movie. But not so this month. Davenport, who created the cover of our September 2006 issue (W*91) as part of a series celebrating our 10th anniversary, included with his pancake recipe 24 photographs of him creating a painting inspired by the act of flipping a pancake. It showed a circular painting being rotated through 180° so that its wet paint splattered onto the floor below. Davenport, who is interested in the organic nature of paint and the way it drips and pours, using paint-filled syringes and gravity, learned to drip and pour batter from his mother. He obviously learned well. He participated in the seminal 1988 Freeze exhibition and in 1991 was nominated for the Turner Prize at just 25. His largest work, Poured Lines: Southwark, is a 50m-long painting on steel under a railway bridge, not far from W* HQ, that fairly cheers the soul.
Ingredients
Makes 12-14 pancakes
110g plain flour
275ml skimmed milk (or 200ml milk mixed with 75ml water)
2 large eggs
Caster sugar
Lemon or orange juice
Butter, lard or vegetable oil
Method
Sieve the flour into a mixing bowl and then make a small well in the centre of the flour. Gradually add the milk, a little bit at a time, whisking as you do so. When all the milk is added, whisk until all the lumps have disappeared and the mixture is smooth. Cover and leave for several hours, stirring occasionally. When you are ready to make the pancakes, add the well-beaten eggs and stir thoroughly. You now have a nice batter!
Heat the pan until very hot and then reduce to a medium heat. Add a knob of butter, lard or a little oil and quickly tilt so it covers the base of the frying pan. Pour in about 2tbs of the batter and tip the pan all around to spread the mixture evenly around the base. As soon as the batter hits the pan it will start cooking and after 30 seconds to a minute the first side will be cooked. Lift with a spatula to check it is lightly browned and shake the pan to test that it is not stuck to the bottom and will lift freely. Flip the pancake over with the spatula and cook on the other side for a few more seconds and then slide on to a warmed plate.
The other more fun and risky version is to flip the pancake by tossing it. We loved this as kids. To toss a pancake, shake the pan to check the bottom half is thoroughly cooked. Hold the pan loosely with both hands and give the pan a sharp upwards flick, the pancake will lift out of the pan and turn over, so make sure the pan is in the right position to catch it as it returns! Cook as before for a few more seconds before serving. When finished cooking add a light dusting of sugar and then a squeeze of lemon or orange (I also like another knob of butter but my mum thinks this is too much). Delicious!
A few tips:
1. Don't have the batter too thick.
2. Put enough fat in the pan to cover the base properly and use a fresh amount for each pancake.
3. Pour only enough batter in the pan to give a light covering. It's easier to do this from a pouring jug.
4. If you are making a batch of pancakes, keep them warm in an oven and put grease proof paper between each one so they don't stick together.
5. I always find the first pancake is a bit of a cock-up, but after that everything goes pretty well so don't worry if number one is a disaster.
INFORMATION
Photography: Zachary Zavislak. Interiors: Pei-Ru Keh
Receive our daily digest of inspiration, escapism and design stories from around the world direct to your inbox.